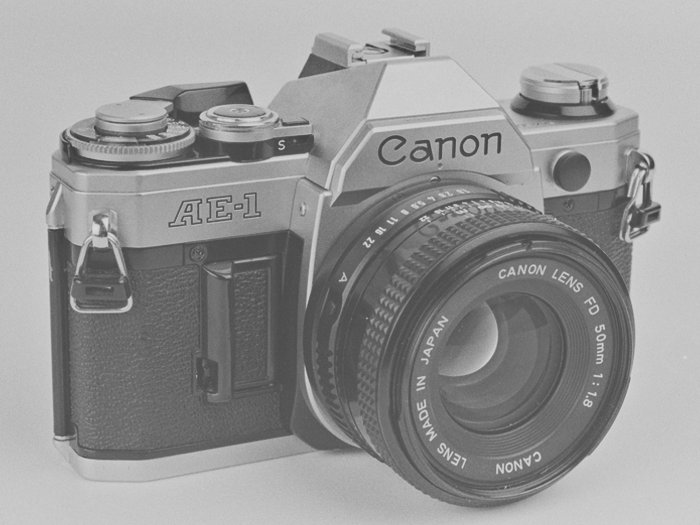
Canon AE-1 Shutter Squeak Cause and Repair
- Nathaniel Stephan
- Canon ae 1
- October 11, 2024
Table of Contents
The Canon AE-1, AE-1 Program, A-1, AV-1, and AT-1 can all develop a “squeak” when the shutter is released. This is caused by lack of lubrication on the mirror escapement mechanism.
The repair can be done in less than 15 minutes. There are only a few steps between you and a quiet camera.
In most instances the squeak does not affect the pictures the Canon AE-1 is able to take. If the noise is very loud, there could be enough friction to slow the shutter speed of the camera down.
Video Repair of the Canon AE-1 Shutter Squeak
Here is a video by Fix Old Cameras that goes over the repair. The required tools and oil need are not specified in the video, but they are covered in the next section.
Affiliate Advertising Disclosure
Outside the Shot is a participant in the Amazon Services LLC Associates Program, an affiliate advertising program designed to provide a means for sites to earn advertising fees by advertising and linking to Amazon.com.
As an eBay Partner, I may be compensated if you make a purchase. I also participate in affiliate advertising programs with KEH and Adorama. More can be found on the Affiliate Disclosure page.
Required Tools For Repair
- JIS Crosspoint Screwdrivers
- Light Machine Oil such as Nyoil
- [Needle Tip Oiler
A Philips screwdriver can easily strip the screws.
Repair Parts
No repair parts should be required to do this repair on a Canon AE-1.
If parts are required from a repair, they will have to be purchsed used. That is because original parts are no longer available.
Instead, repair parts must be harvested from other cameras. This can make parts expensive and difficult to find. Searching eBay is your best choice for finding parts.
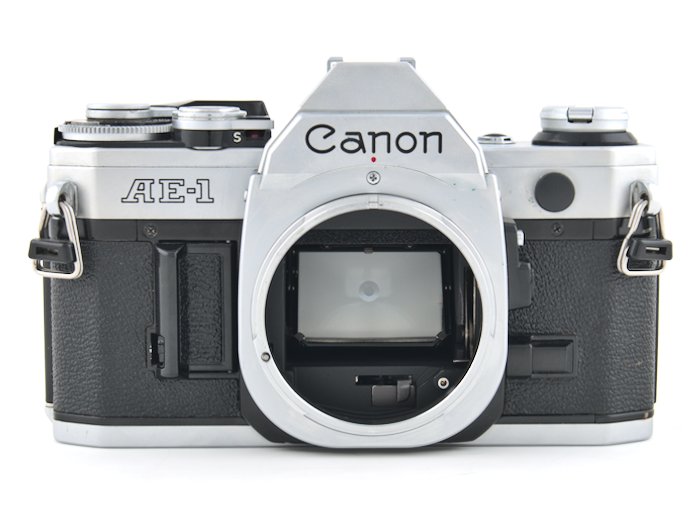
Repair Steps
- Remove the 4 screw in the lens mount cover name plate. They are all the same length.
- With the camera facing you, remove the upper left hand screw from the lens mount.
- Slide the tip of a curved needle point oiler down into the screw hole towards the bottom of the camera.
- Squeeze a single drop of oil. The oil will migrate onto the post of the mirrow escapement mechanism.
- Replace the screw in the lens mount.
- Put the mount cover name plate back on.
An alternative method is to remove the bottom cover. The mechanism can be reached by marking a needle oiler so that it can be inserted to a depth of 34mm.