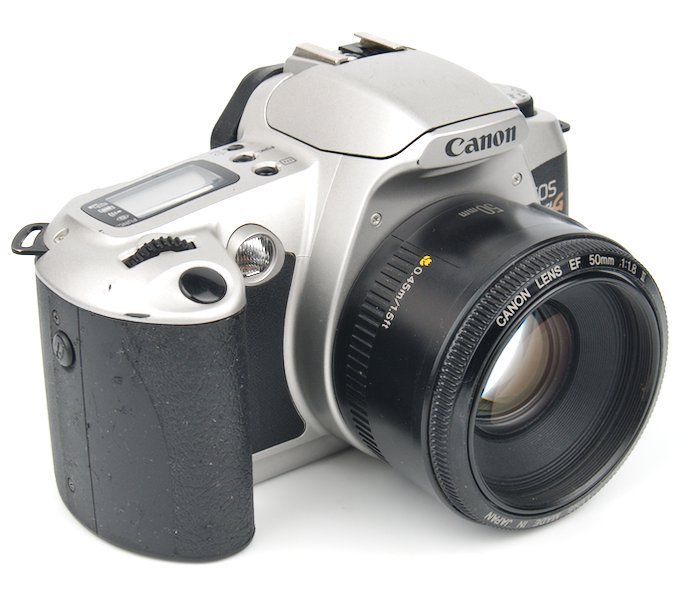
Step by Step: Loading Film into the Canon Rebel G
- Nathaniel Stephan
- Canon eos rebel g
- October 26, 2022
Table of Contents
Time needed: 1 minute.
Loading 35mm film into the camera is easy. If you need to remove a roll of film from the Canon EOS Rebel G before all the frames have been captured I have already written a how to on that.
Open the camera
Slide the camera back lock-release lever up. When facing the viewfinder, the lever is located on the left side of the camera.

Load the 35mm Film Cartridge
Insert the film cartridge down into the camera. This will depress a sprocket that locks onto the cartridge, which will allow you to push the cartridge into the camera.

Position the Film Leader
Hold the film canister and pull the film leader until the tip is aligned with the orange mark on the far right. Once that is done you can close the camera back.

Wait for the Film to Advance
After the camera back is closed, make sure the camera is turned on, the camera will unwind the film onto the take-up spool.
The frame number displayed in the LCD will count up until it reaches the number of frames contained on the film roll. This will likely be 24 or 36.
Every frame captured will be wound back into the film canister.
If You are Using DX-Encoded Film, You’re Ready to Shoot
The camera can read the DX-codes on film canisters and automatically set the ISO.

Set the Film ISO for non-DX-Encoded Film
The ISO for film canisters with DX-coding will automatically be set. If the film canister does not have DX-coding, you will need to manually set it.
You can also use this setting to manually override the DX-encoding of the film. This is needed if you want to push film to a higher ISO.
Note: Infrared film should not be used with the Rebel G. An infrared sensor is used to track the film advance. It will fog infrared film.
There is a page with more complete information on the Canon EOS Rebel G.
